MetaMask Wallet Account User Guide
Download MetaMask Extension
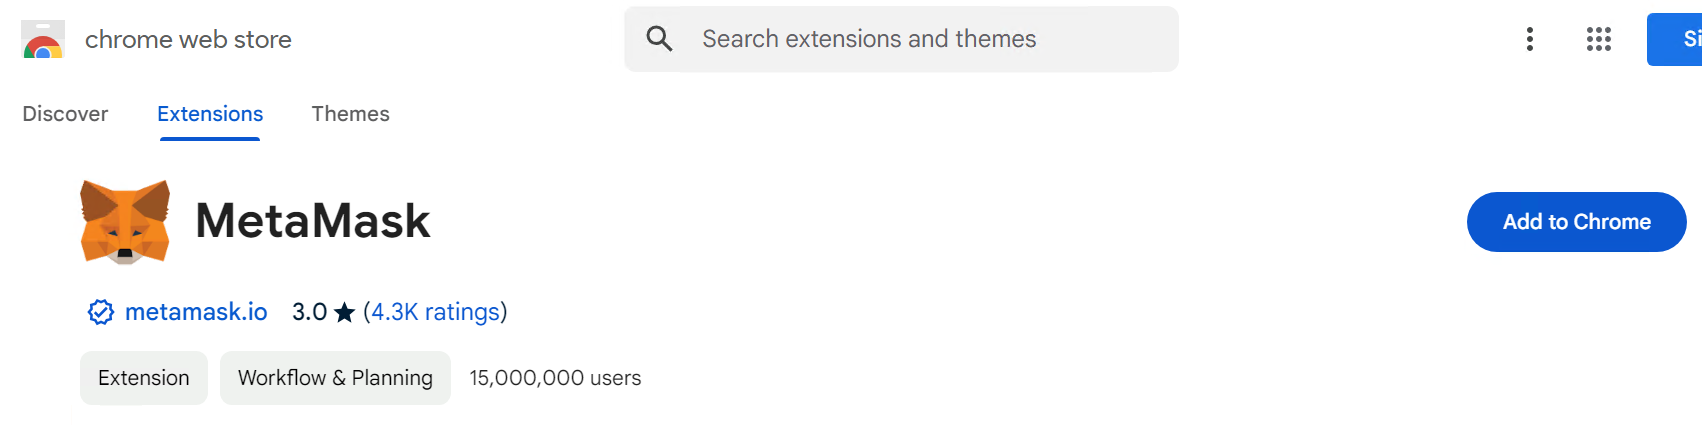
Open your browser and visit the MetaMask official website.
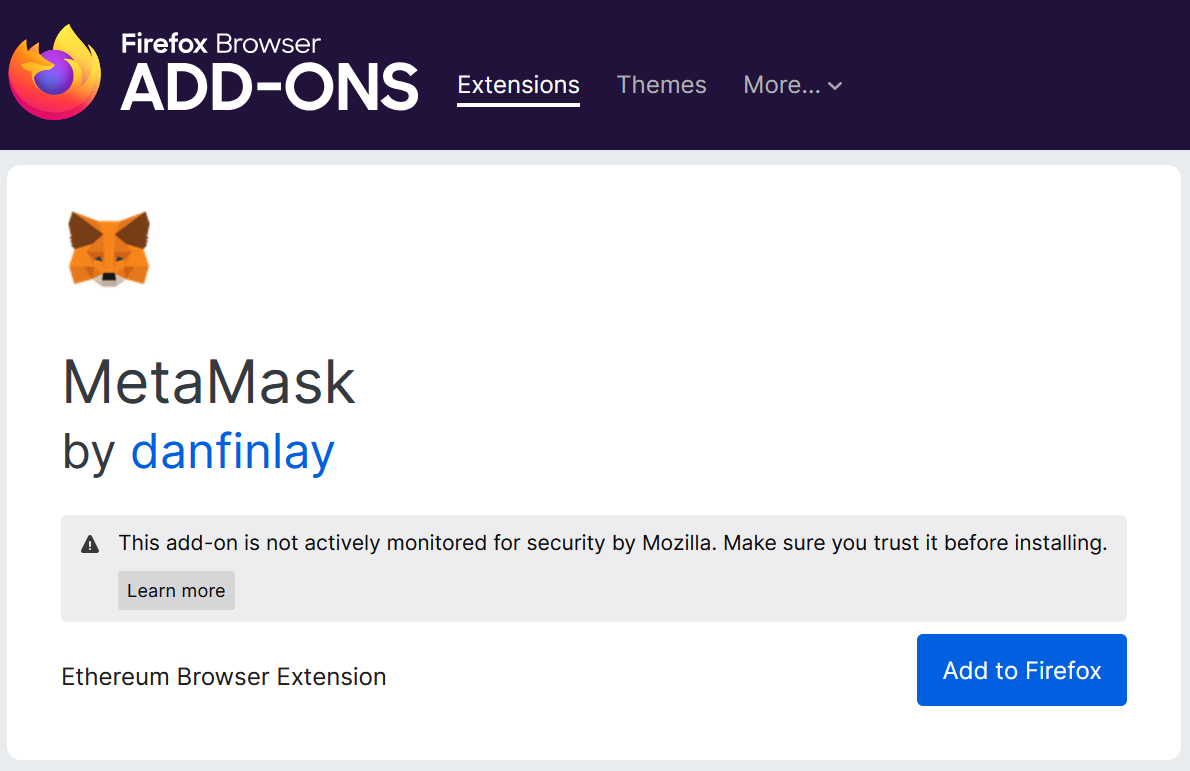
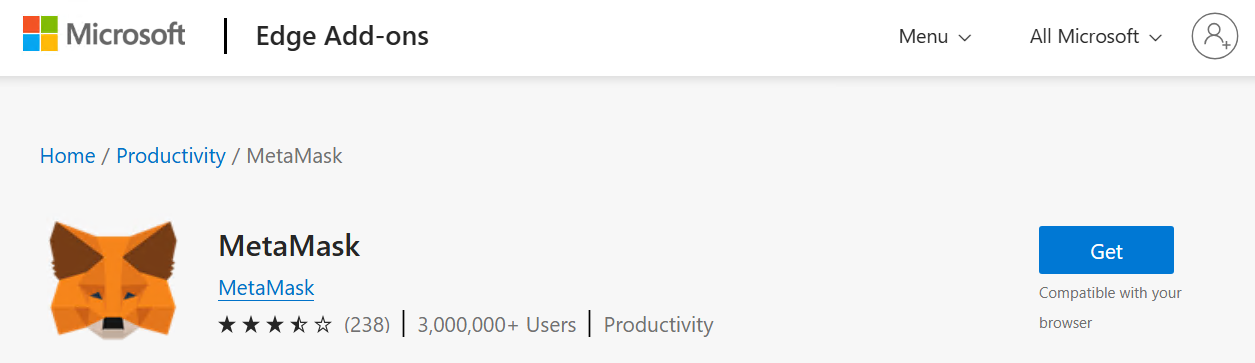
Select and install the extension suitable for your browser:
TIP
Since the MetaMask extension for Microsoft Edge browser is still on v12, while Chrome and Firefox have both been updated to v13, this user guide is based on v13. Edge users should use this guide for reference only.
- For Chrome browser, click "Install MetaMask for Chrome".
- For Firefox browser, click "Install MetaMask for Firefox".
- For Microsoft Edge browser, click "Install MetaMask for Microsoft Edge".
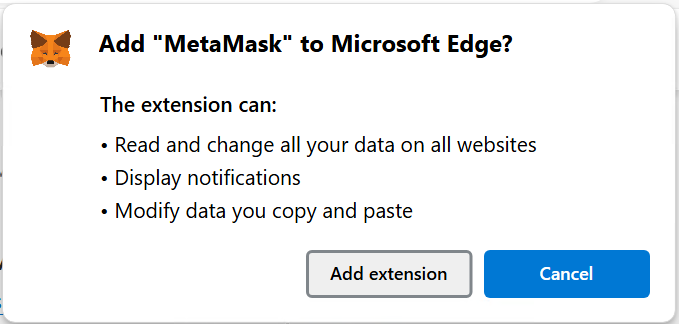
- After clicking to add the extension, a MetaMask installation page will pop up. Click "Add Extension" or "Install".
- After installation is complete, a MetaMask setup page will open, or click the extension icon in the upper right corner of the browser and select the MetaMask icon from the dropdown menu to begin setup.
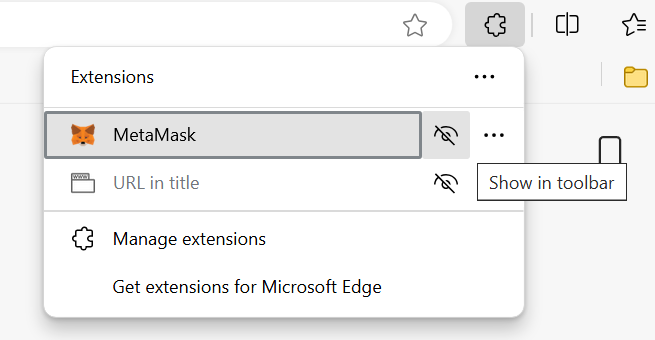 (You can click "Show in toolbar" to display the MetaMask icon directly in the toolbar)
Create MetaMask Wallet Account
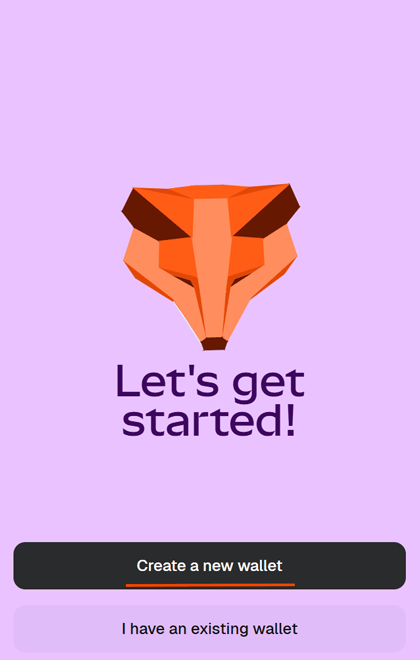
- Click the MetaMask icon in the toolbar to open the MetaMask extension setup page, then click "Create a new wallet";
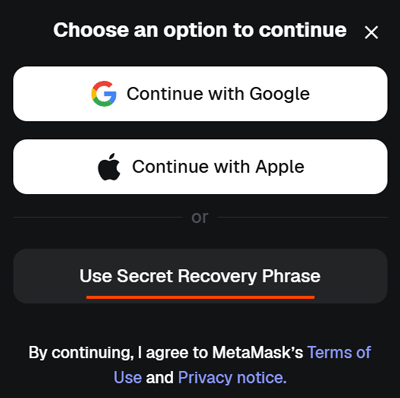
- In the "Choose an option to continue" window that appears, click "Use Secret Recovery Phrase";
- On the create password page, set a strong password, check "If I lose this password, MetaMask can't reset it.", then click "Create password";

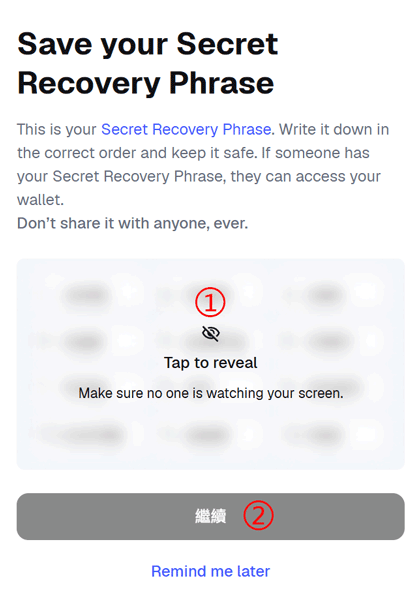
- On the "Save your Secret Recovery Phrase" page, click the "Tap to reveal" area to display the recovery phrase. Copy and backup the 12-word recovery phrase locally (very important!), and keep it safe. After completion, click the "Continue" button;
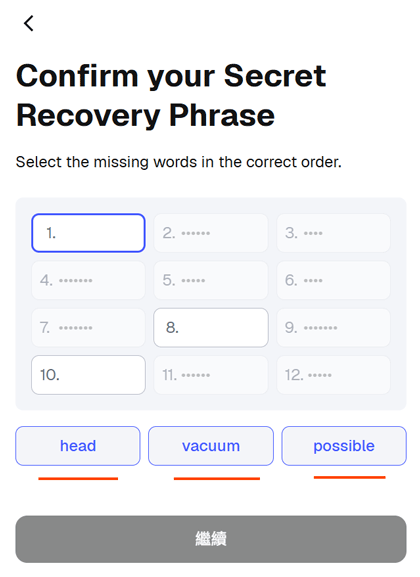
- On the "Confirm your Secret Recovery Phrase" page, select the three corresponding words from the bottom in the prompted order to fill in the blanks and verify your recovery phrase. Click "Continue". If verification is successful, a "Perfect That's right!" window will appear - click the "Got it" button;
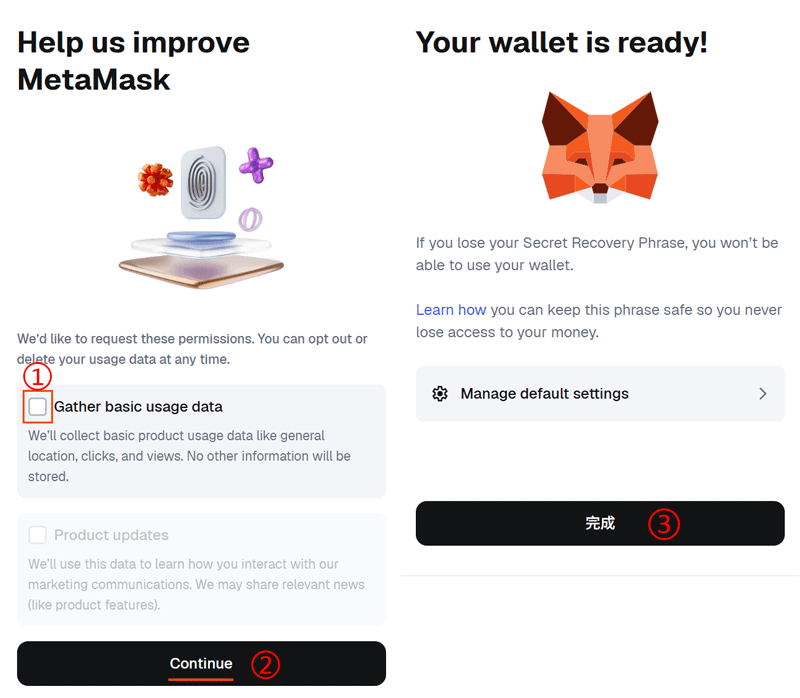
- On the "Help us improve MetaMask" page, make your selection as needed and click the "Continue" button. On the "Your wallet is ready!" page, click "Done" to complete wallet creation.
Note: The recovery phrase and private key are the only backup of your wallet account. Keep them safe and do not share them with others.
Get Wallet Address
- Click the MetaMask icon in the browser toolbar. In the popup window, click the dropdown icon next to "Account 1" at the top left;

- In the account list, click the three-dot menu icon next to "Account 1", and select "Addresses" from the popup menu;

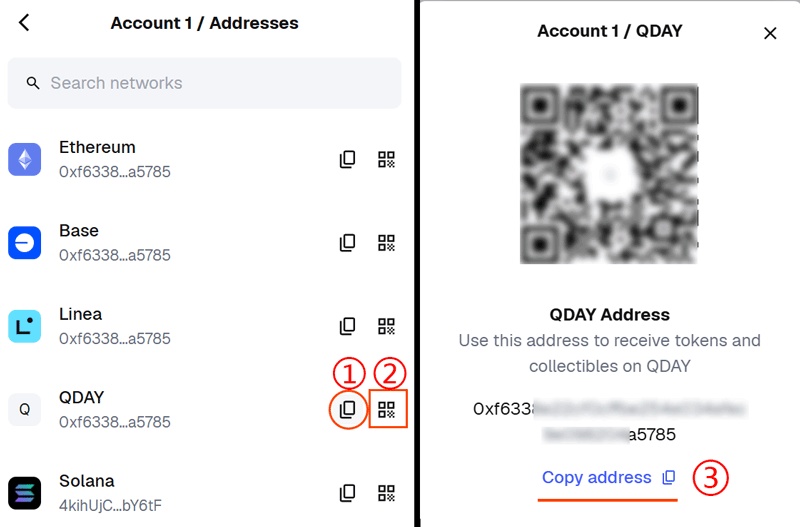
- On the "Addresses" page, click the "Copy to clipboard" icon button to copy the wallet address to your local clipboard, or click the "Show QRCode" icon button, then click the "Copy address" button below the wallet address to copy it to your local clipboard. The QR code is convenient for mobile wallets to scan and transfer.
Add QDAY Network to MetaMask
Automatically Add QDAY to MetaMask Network List
The blockchain explorer's automatic QDAY addition to MetaMask network feature has been launched:
- Please visit QDay Explorer;
- Click the "Add QDay Mainnet" button in the upper right corner of the page, confirm the addition, and QDAY will be automatically added to MetaMask.
Manually Add QDAY to MetaMask Network List
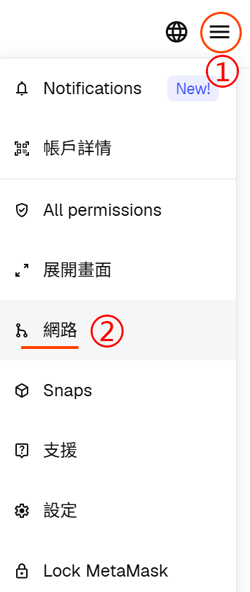
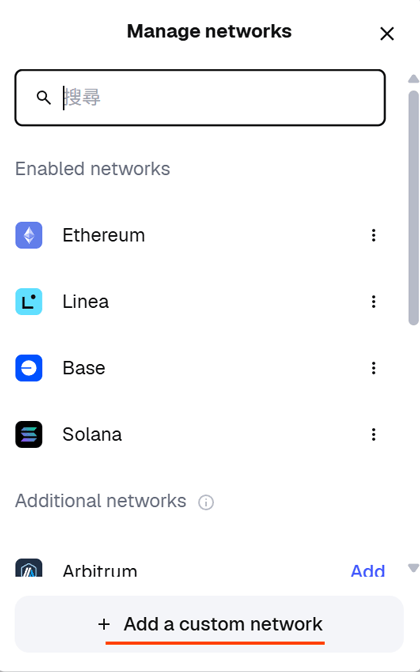
- Click the MetaMask icon in the browser toolbar. In the popup window, click the "☰" menu icon at the top right, and select "Networks" from the dropdown menu;
- On the "Manage networks" page that appears, click the "Add a custom network" button at the bottom;
- On the manual network addition page, fill in the following information:
- Network Name: QDAY
- Default RPC URL:
https://rpc.qday.io - Chain ID: 44001
- Currency Symbol: QDAY
- Block Explorer:
https://explorer.qday.io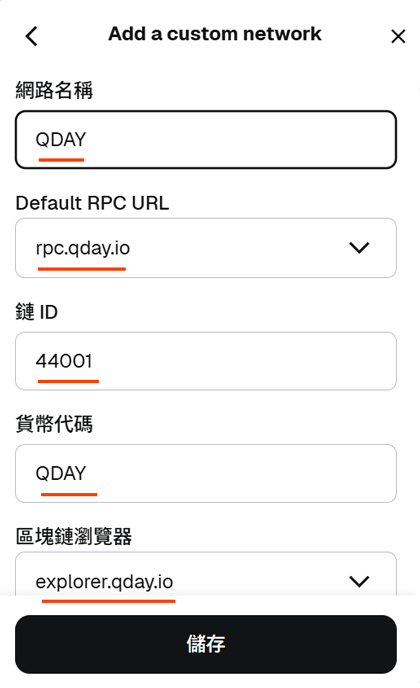 Click the "Save" button to complete the addition.
Connect to QDAY Network
Click the MetaMask icon in the toolbar. On the account interface, click the "Tokens" tab, then select and switch to "QDAY" from the network list selector in the upper left corner. 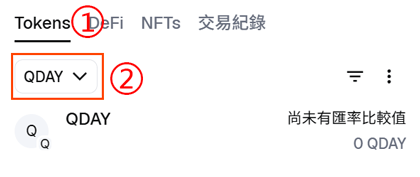
Import QDAY Wallet
Tip
This step requires first backing up the private key from the QDAY wallet account details page in the Abelian mobile wallet application, then following the steps below to import the QDAY wallet account into MetaMask.
- Click the MetaMask icon in the toolbar. In the popup window, click the dropdown icon next to "Account1" at the top left to enter the account list, click "Add wallet" to create a new account;
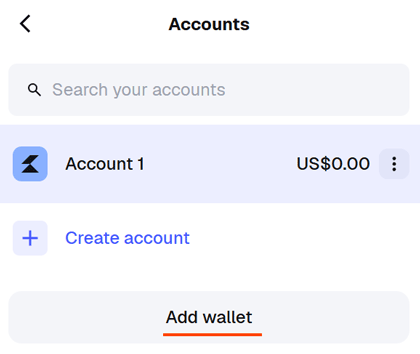
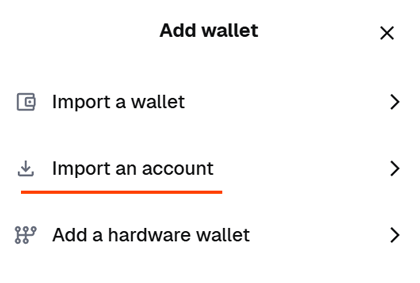
- On the add account page, select "Import an account" to import the QDAY wallet account from Abelian mobile App;
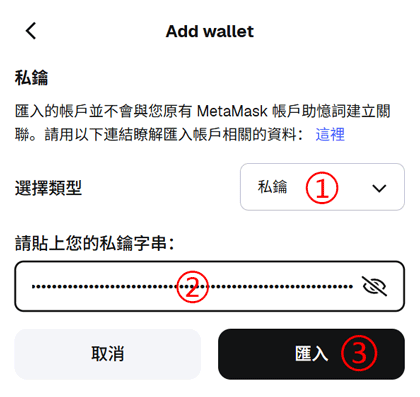
- On the "Add wallet" page, select "Private Key" and enter the private key string backed up from the Abelian mobile wallet, then click the "Import" button to complete the QDAY wallet import;
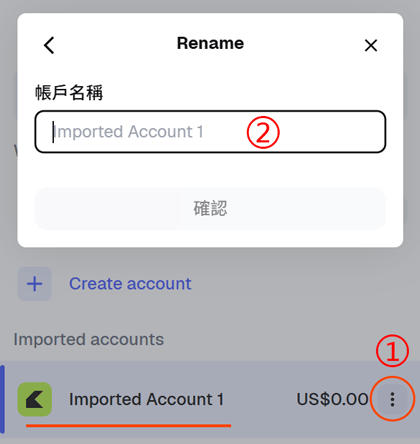
- A wallet account named "Imported Account 1" will be added to the account list interface. You can click the three-dot menu icon on the right, select "Rename" from the popup menu, enter a new wallet name in the "Account name" box that appears, and click the "Confirm" button to complete the rename;
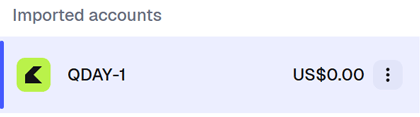
- In this example, the account is named "QDAY-1". Click to select this account. You can switch between the two accounts in the account list.
Add QDAY ERC20 Tokens to MetaMask
Add USD8 Token to MetaMask
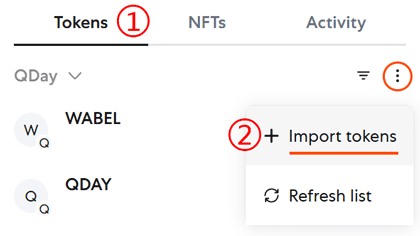
- Click the MetaMask icon in the browser toolbar. On the main interface's "Tokens" tab, click "Import tokens";
- On the "Import tokens" page, first select the QDAY network, then enter the USD8 Token address in the "Token contract address" field:
0x668FaAFd6b363d6cED62491BfCBE2A39da3D14cB;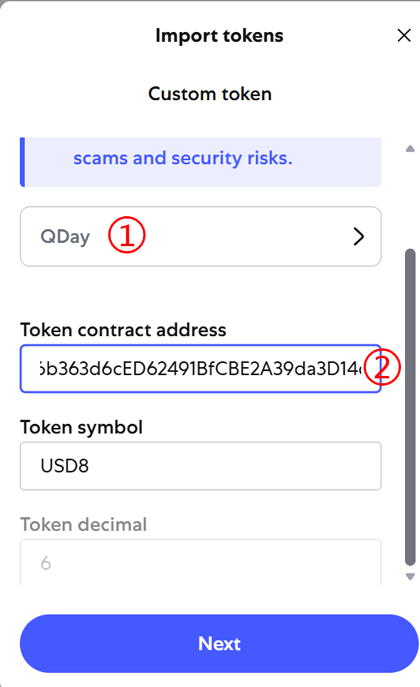
- Wait a moment and the USD8 Token information will automatically load - Token symbol and Token decimal. Click the "Next" button;
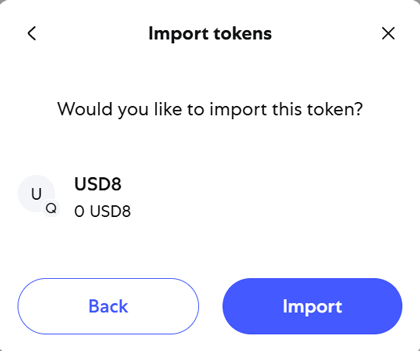
- A confirmation import window will appear. Click the "Import" button to complete the import.
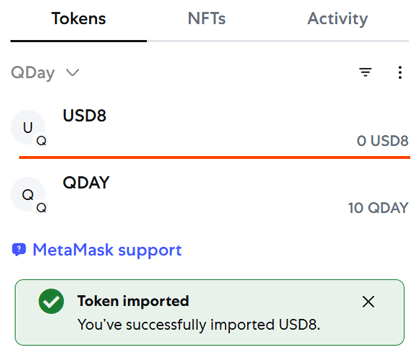
- The USD8 token balance will now be displayed in the Tokens tab on the MetaMask main interface.
Add WQDAY and WABEL Tokens
Token Contract Address List
| Contract Name | Address | Description |
|---|---|---|
| USD8 | 0x668FaAFd6b363d6cED62491BfCBE2A39da3D14cB | USD Token Contract |
| WQDAY | 0xEF253e9FC2d063869FD5B3C0E1c326aB7E030660 | Wrapped QDAY Token Contract |
| WABEL | 0x3a4D0834fe667D780c0fa434Ec9c1c3b08181882 | Wrapped ABEL Token Contract |
Tip: Follow the USD8 steps to add WQDAY and WABEL tokens to MetaMask.